Hyper realistic hair drawing is a complicated ability that may turn an ordinary artwork into an outstanding masterpiece. This tutorial goes into the most important techniques and tips for creating hyper-realistic hair drawing, from understanding the fundamentals to learning from professionals. Whether a beginner trying to create realistic faces or an intermediate artist hoping to add life and depth to your portraits, these tips will walk you through the process of generating amazing, lifelike hair in your drawings.
Key Takeaways
- Understanding dimensions, face mapping, and how light and shading interact to produce depth are the first steps in mastering hair drawing.
- Advanced shading techniques, such as blending graphite for texture and strategically applying value, are essential for increasing realism.
- Studying varied subjects, such as celebrity portraits, animal fur, and cartoon hair, improves your ability to capture hair in a variety of styles and perspectives.
- Choosing the correct equipment is critical for creating hyper-realism, and learning from time-lapse videos can be especially beneficial.
- Professional artist’s case studies.
Learning About the Basics of Hair Drawing

When I initially started learning how to draw hair, I learned that it’s more than just copying strands; it’s also about learning the fundamental ideas. It’s critical to get the proportions perfect and map the face features correctly. This is especially true for female and male hair drawing, where changes in texture and flow can have a considerable impact on the overall appearance.
Proportions and Facial Mapping
I’ve discovered that understanding proportions is the foundation of any successful portrait. It’s not just about the hair; it’s about how it fits in with the rest of the face and body. Facial mapping is a process that allows me to ensure that each feature is in the correct location and size, which is critical for creating a lifelike appearance.
Shapes and Composition in Hairs
likewise, studying shapes and composition helped me to consider hair as a component of the overall portrait. It’s not just about drawing individual strands; it’s about how those strands combine to make a shape that matches the composition of the face and body.

Throughout my journey, I’ve discovered that these fundamentals form the foundation for making hyper-realistic hair in my drawings. They are the talents that I return to over and again, regardless of the style I am working in.
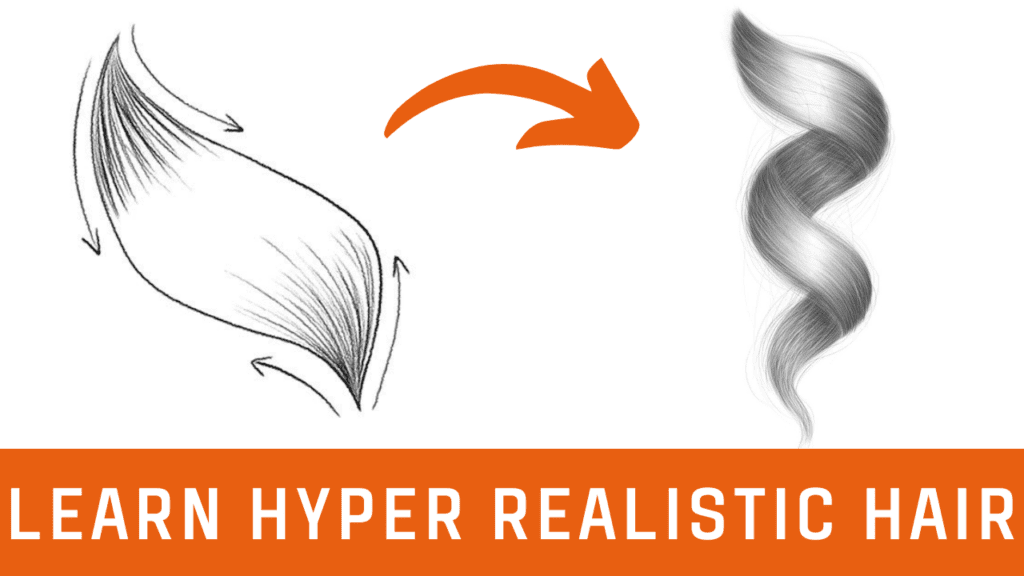
How to create light and depth in Hair?
Adding depth and dimension to hair in a pencil drawing can make your work appear more natural and appealing. Here’s a basic way to achieve this outcome:
- First, trace the general lines of the hair. Do not worry about the details at this point. Next, find the light source in your drawing. This is important because it defines where to place highlights and shadows, which are essential for adding depth and perspective.
- Begin drawing lines to represent individual strands of hair. Remember that hair is more than simply a solid mass; it flows and moves in specific directions. Make your lines follow the direction in which the hair flows.
- Use various pencil tones to create depth. Darker tones can be that are used to represent shadows or darker sections of the hair, and lighter shades can be used to represent highlights or parts of the hair that get direct light.
Remember, practice is necessary. The more you draw, the more skilled you get great results in the depth and dimension of hair.
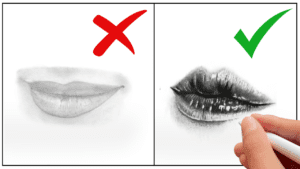
Now, It is Time to Shade
First, you need to create the base layer on the outline. You have to shade a primary layer slowly with a patient and then blend smoothly with any kind of blending tools like tissue paper, blending stumps, or makeup sponge. The fine details of graphite blending can make or break the reality of your hair images. It’s not just about smudging the lines; it’s about understanding the various grades of pencils and how they interact with the paper. Here’s a quick guide on blending techniques.
- Hatching
- Cross-hatching
- Stippling
- Scumbling
- Contour shading
Each technique offers a unique approach to texture and depth, and when used correctly, they can create stunningly realistic hair. When I talk about value in hair drawing, I mean the lightness or darkness of the graphite on the page. It is important in showing the 3D appearance of hair. By changing the pressure on the pencil, you can achieve a variety of values that follow the natural highlights and shadows visible in actual hair. Remember, the contrast between these values is what gives hair its volume and life.
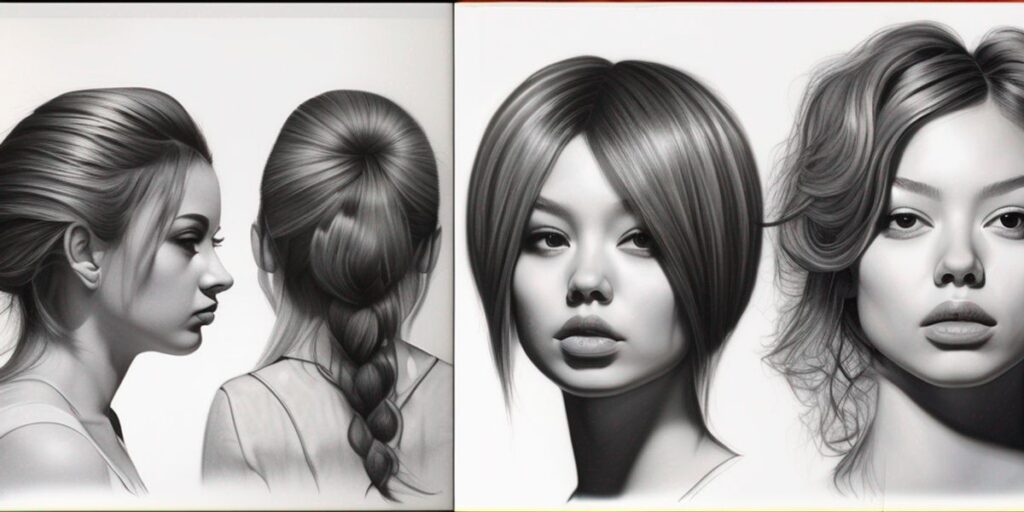
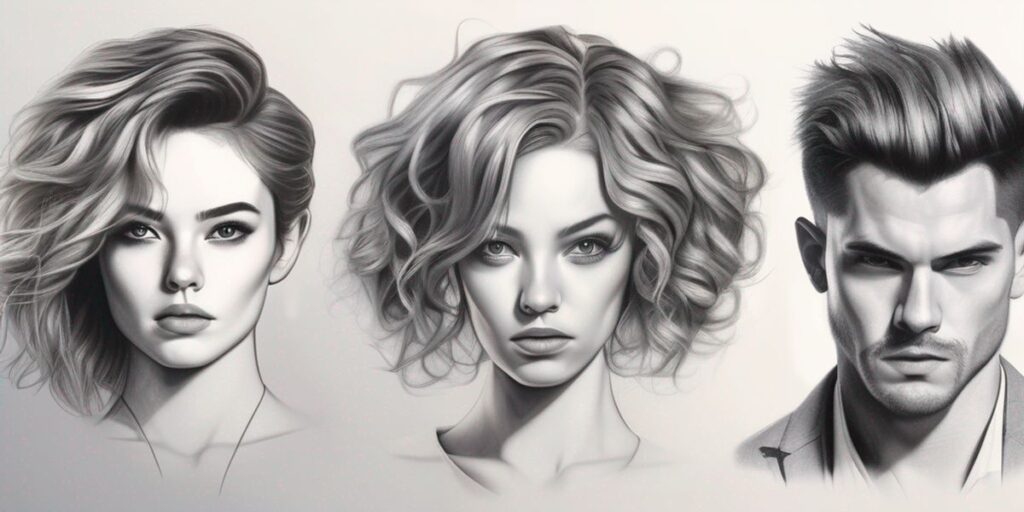
Hair in Different Styles and Angles
Hair is more than a detail in pencil Artwork; it is an element in its own right. It may represent emotions, define personalities, or set the tone for the entire composition. When an artist draws hair in pencil, they focus on how it interacts with light and gravity. Each lock or curl may tell a tale, whether it’s a single strand blowing in the wind or a whole head of hair falling down the shoulders. The difficulty lies in the complexity of the tints and strokes. To recreate natural highlights and shadows, artists employ a variety of pencils—hard for soft and light lines and soft for dark, strong strokes.
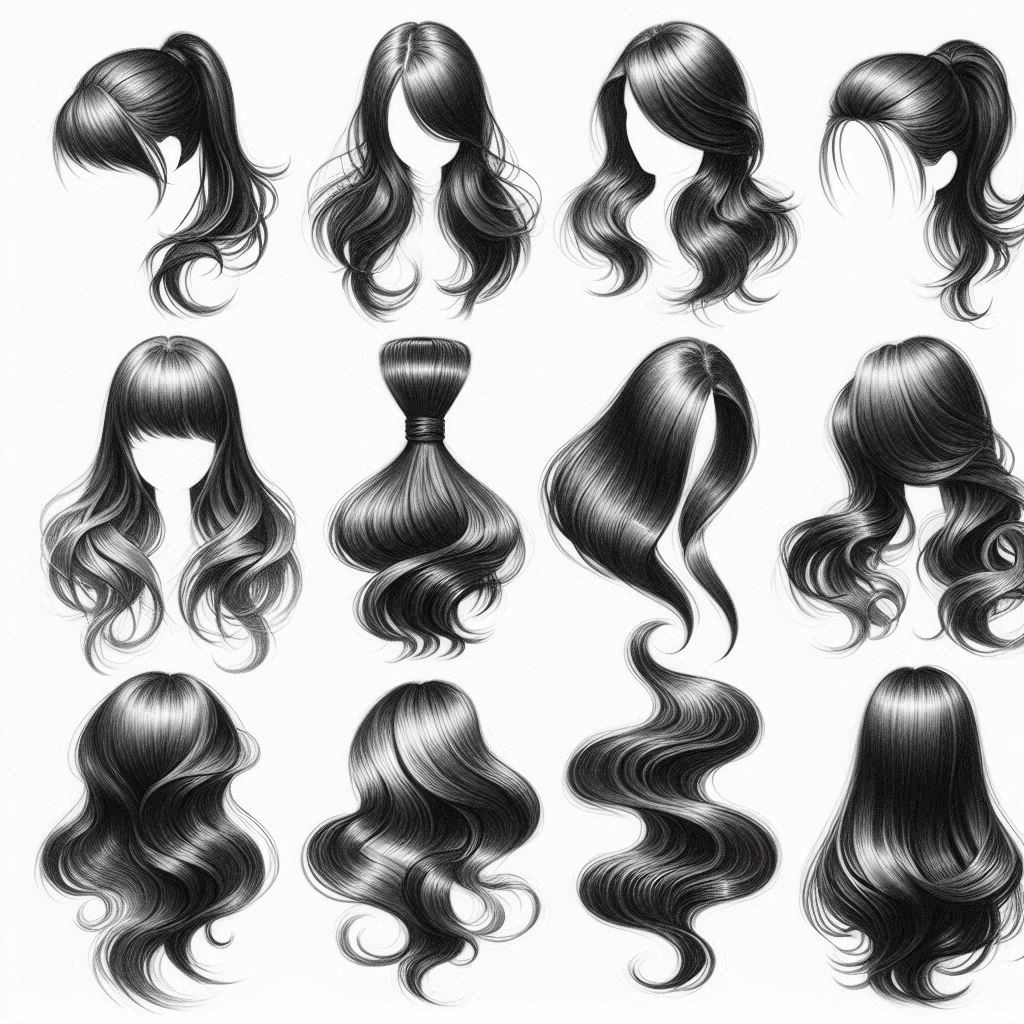
- The direction and length of the pencil strokes can be adjusted to produce the illusion of different textures, such as the sleekness of straight hair or the roughness of curly hair. Finally, the idea is to make the drawing’s hair as realistic and expressive as possible, thereby adding depth and emotion to the artwork.
- Whether it’s a tight braid, a loose bun, or flowing waves, pencil drawings can beautifully render the complexity of hair, making it almost tangible to the viewer. The key is to observe how hair behaves in different situations and translate that into the language of pencil marks on paper.
Choosing the Right Tools for Hyper Realistic Hair Drawing
When it comes to hyper realistic hair drawing, the devil is in the details—and the tools you use are important to capturing those details. I’ve learned that the right tools can make a significant difference in the outcome of your artwork.
Quality is important. Investing in high-quality drawing supplies can help you improve your realistic hair drawing from good to excellent. It’s not just about the brand; it’s also about how well the tools function and hold up with time and use.
| Tools | Use |
| H Grades | Light shading and fine details |
| B Grades | Dark tones and bold textures |
| Drawing Papers | Paper is the basic material used for drawing |
| Brush | used for Blending, Smudging, and Shading. |
| Sharpener | sharpen pencils to a fresh point. |
| Charcoal Pencils (Soft, Medium, Light) | showcasing the highlights and shadows of your subjects. |
Learning from the Fellow Artists: Tips and Insights from Professional Artists
When I set out to improve my hair sketching skills, I realized that learning from the best artists would be essential as well. Their thoughts and approaches have changed the game for me, and I’m thankful to share what I’ve learned.
1. Rix’s Approach to Making Art Pop Out of the Paper
I’ve discovered that Rix emphasizes the importance of constructing accurate portraits and figures using angles and measurements. His approach to troubleshooting is particularly insightful, offering free critiques online to pinpoint mistakes and correct them. For those looking to add a professional touch to their work, his paid tutorials are a treasure trove of knowledge.
Kirsty’s Shading and Coloring Techniques
Kirsty’s work, often showcased in time-lapse videos, offers quick tips that are incredibly resourceful for both beginners and those aiming for a realistic edge. The soft look of her artwork is not only beautiful but also educational. Her Patreon page provides in-depth lessons and real-time videos, making the learning process both engaging and effective.
Alphonso Dunn’s Pen and Ink Realism Strategies
Alphonso Dunn’s forte lies in sketching and pen and ink drawing, with a focus on drawing fundamentals. His free tutorials cater to a range of skills, from landscape and scenery sketching to portrait and figure drawing. Dunn’s instructions are simple, clear, and perfect for those starting out or looking to improve their technique in creating realistic textures and details.
In mastering the art of hyper-realistic hair drawing, the guidance of these professionals has been pivotal. Their tips not only enhance my skills but also inspire me to develop my own unique style.
Begin on a journey of creative skill with our exclusive insights from seasoned experts. Dive into the world of creativity and hone your skills by studying from the greatest in the industry. Whether you’re a new artist or an experienced maker, our website contains a wealth of advice and strategies to help you improve your skills. Don’t pass up the opportunity to improve your artistry—visit our ‘Resources’ area today and take the first step toward realizing your full potential.
Final Thoughts
Mastering the art of hyper-realistic hair drawing requires patience, practice, and the proper techniques. Throughout this article, we’ve looked at a variety of techniques and ideas to help you improve your skills, from understanding proportions and face mapping to the detailed use of light, shading, and texture. Whether you’re a beginner or an intermediate artist, the tools and tutorials included here will help you advance your artistic skills. Remember that the key to success is ongoing study and play with various tools and approaches. With effort and guidance from skilled painters, you can create absolutely realistic hair and portraits that genuinely bring life to the artwork.
Frequently Asked Questions
Q1. What are the key fundamentals to master in hyper-realistic hair drawing?
Mastering hyper-realistic hair drawing involves understanding proportions and facial mapping, the role of light and shading to create depth, and studying shapes and composition in portraits.
Q2. How can I improve the texture and softness in my hair drawings?
Improving texture and softness can be achieved by blending graphite skillfully and using a range of values to enhance the realism of the hair.
Q3. Can I learn to draw hair in different styles and from various angles?
Yes, you can learn to draw hair in different styles and from various angles by studying celebrity portraits, tackling animal fur textures, and exploring stylistic variety through manga hair tutorials.
Q4. What tools are essential for creating hyper-realistic hair drawings?
Selecting quality drawing tools is essential, including a range of graphite pencils and understanding their shades for creating depth and texture in your drawings.
Q5. Are there professional artists I can learn from to improve my hair drawing techniques?
Yes, you can learn from professional artists like Rix, Kirsty, and Alphonso Dunn, who offer insights and tips on making art pop out of the paper, shading and coloring techniques, and pen and ink realism strategies.
Q6. Where can I find tutorials and resources to help me draw realistic hair and faces?
Tutorials and resources can be found on online platforms like Skillshare, official artist websites, and Patreon pages, where artists share their expertise in drawing realistic hair and faces, including time-lapse videos and tool demonstrations.


Attractive section of content I just stumbled upon your blog and in accession capital to assert that I get actually enjoyed account your blog posts Anyway I will be subscribing to your augment and even I achievement you access consistently fast
I was suggested this web site by my cousin Im not sure whether this post is written by him as no one else know such detailed about my trouble You are incredible Thanks
Your article helped me a lot, is there any more related content? Thanks!