
Beginning the challenging journey of learning how to draw anime drawing easy from scratch takes patience and dedication to fully engage in the process. Artists can get a great deal of information about this engaging art form by studying and assembling the steps required, as well as using resources such as YouTube, books, and social media platforms. This step-by-step guide on sketching anime will take readers through the fundamentals of the art form, from mastering expressions to creating hair and costumes, and eventually turning sketches into digital masterpieces.
Anime Drawing Easy Characters
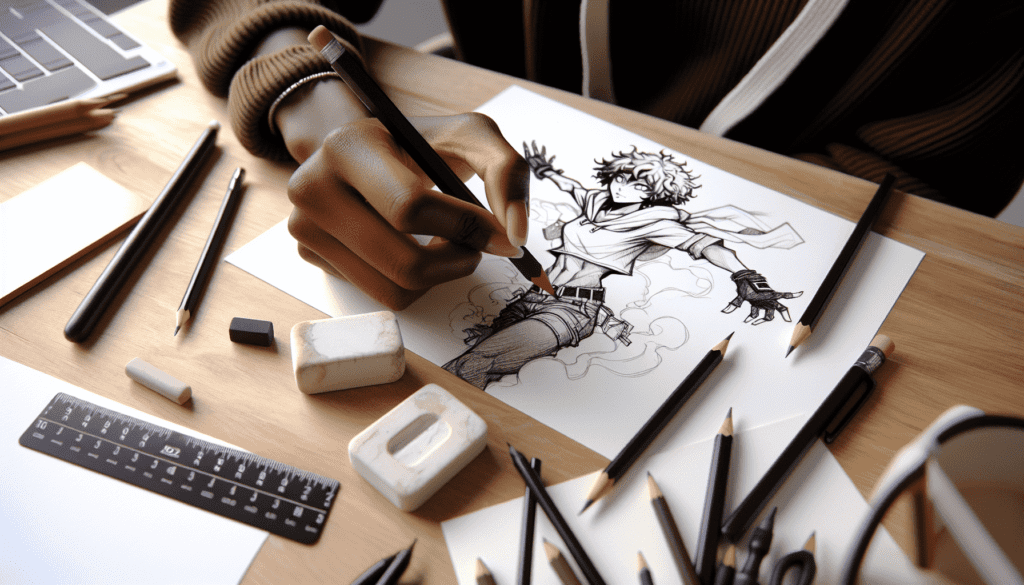
1. Learning about Anatomy and Basic Shapes
- First start with Basic Anatomy: To efficiently design anime characters, sketch basic shapes first. A circle for the head, a triangle for the body, and a cross within the circle help in the exact placement of facial features.
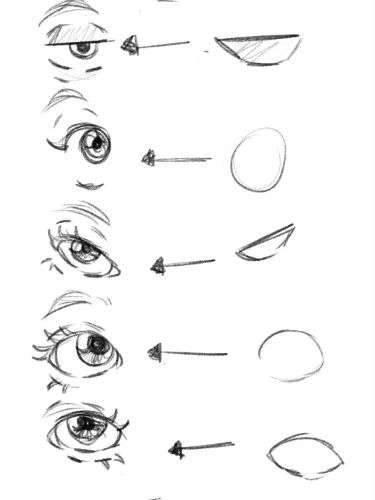
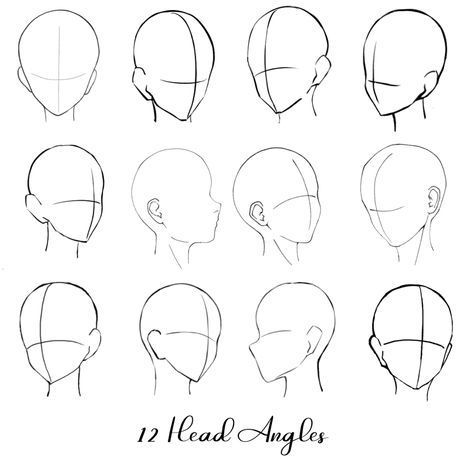
- Practice key body parts: Improve your drawing skills by drawing anime-inspired eyes, hands, hair, and other body features. Observing and recreating these elements from various perspectives will provide a good foundation in anime anatomy.
- Use construction lines: Grid lines are essential in maintaining ratio and proportion. Begin with light drawings and gradually polish them to ensure that all aspects of your drawing progress in a consistent manner.
See Also: Learn Basic Shapes
2. Techniques for Depth and Realism
- Line Thickness and Shading: Manipulate the thickness of your lines to suggest depth, light sources, and shadows, adding a three-dimensional look to your drawings.
- Shading techniques: Learn to shade objects differently depending on their shape. Anime illustrations frequently include simplified shadows, which are necessary for communicating depth while keeping style efficiency.
See Also: Learn Pencil shading
3. Advanced Drawing Practices
- Character Design Stages: Start with basic sketches to set up your character, then progress to full concept art with personality qualities and visual features like shapes and shading.
- Drawing Male and Female Characters: Male characters should have straight lines and sharp angles to give them a tough appearance, while female characters should have softer lines and curves to give them a more gentle touch.
- Use unique elements such as hair and eye designs, as well as non-human qualities, to give your characters a special personality.
Easy-to-follow Guide for Drawing Anime Expressions

1. Basic Structure and Placement of Features
- The first step is to start with the head and facial features: Begin by drawing the head shape, keeping the spacing between the eyes about one-third of the head’s height. Position the eyes below the horizontal midline of the head, the nose between it and the chin, and the mouth just above the lower third line.
- Drawing Eyes and Brows: Try focusing on the form of the eyes, employing an oval shape for the iris, and adding delicate eyelashes. Raised brows might express surprise, whereas slanted brows might represent anger.
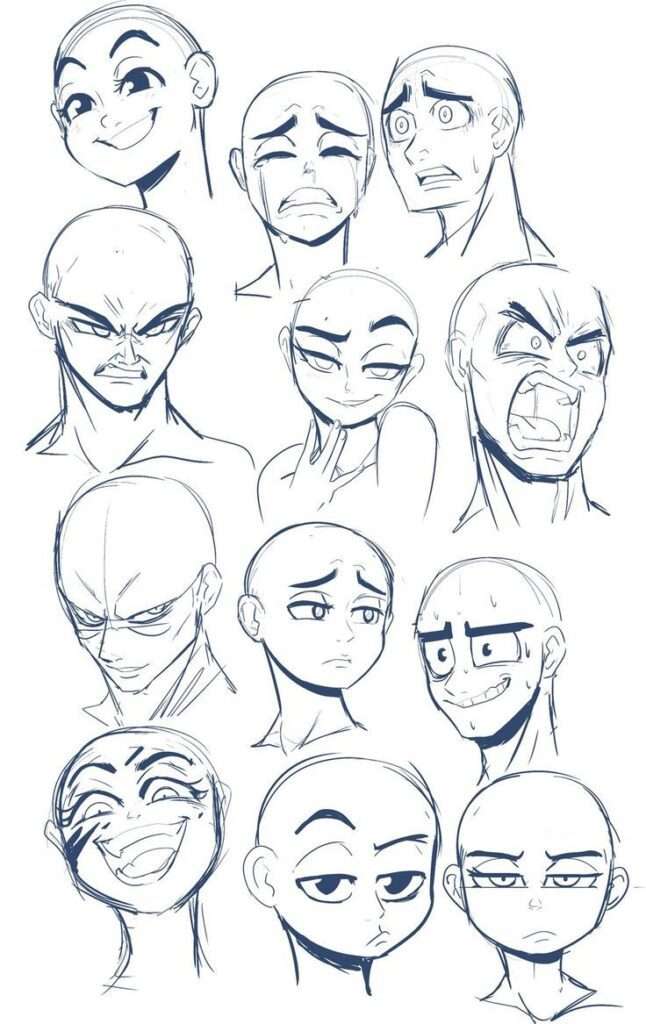
2. Highlighting Emotions Through Expressions
- Happy and Excited: For a laughing expression, draw the mouth open and the eyes closed, with cheeks slightly raised.
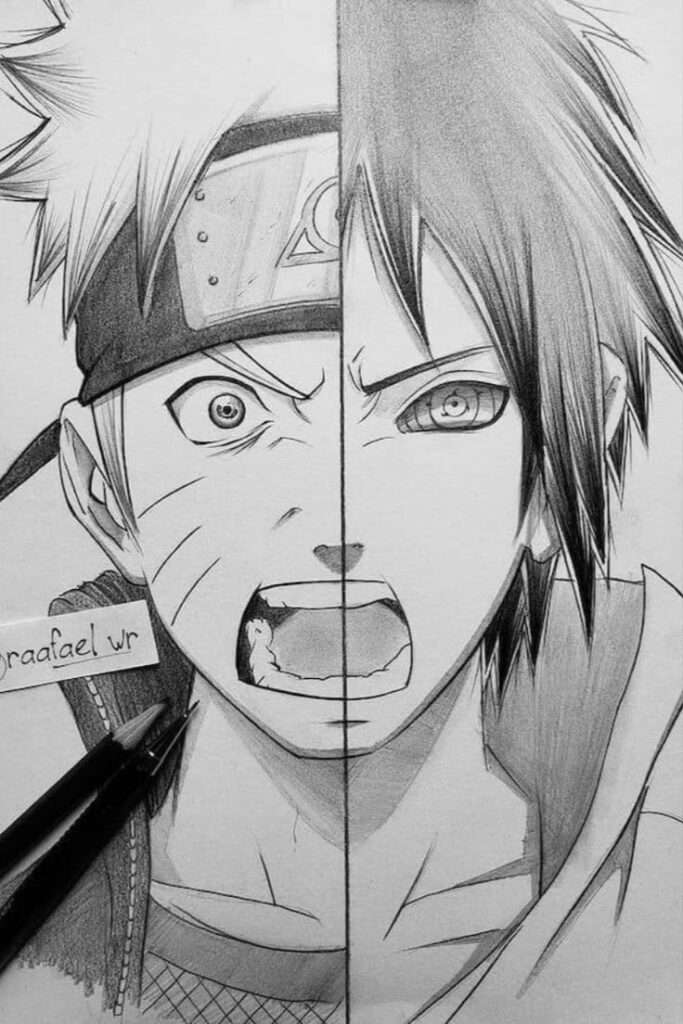
- Anger and Rage: Show anger with eyebrows lowered and drawn together, eyes squinted, and the mouth open as if shouting.
- Represent sadness and dissatisfaction by drawing wide eyes and lines around them.
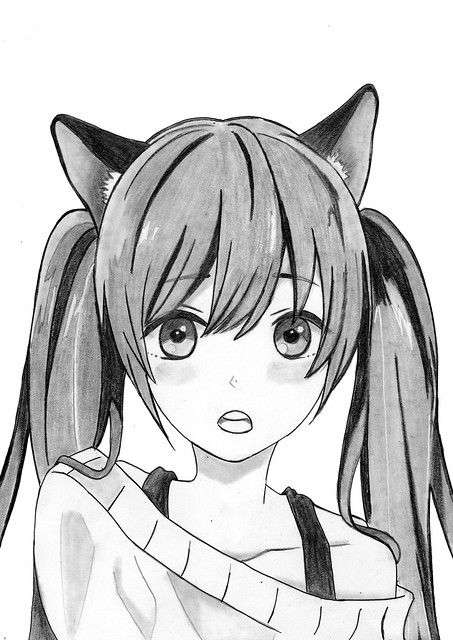
- Shock and anxiety: For shock, draw the eyes and mouth wide open, with the eyebrows descending low onto the eyes.
3. Refine Expressions with Details and Practice
- Continuously practice drawing expressions with lots of references to represent the difficulties of human emotion.
- Adjusting Details for Personality: Consider the character’s personality to determine how expressive their features should be. Quiet individuals often have softer expressions than more aggressive ones.
- Use body language, such as shoulder postures and head tilts, to compliment facial expressions and show off the character’s emotion.

By following these procedures and focusing on the main features of anime facial expressions, artists may create dynamic and emotionally engaging characters.
Learn how to draw anime hairstyles and clothing
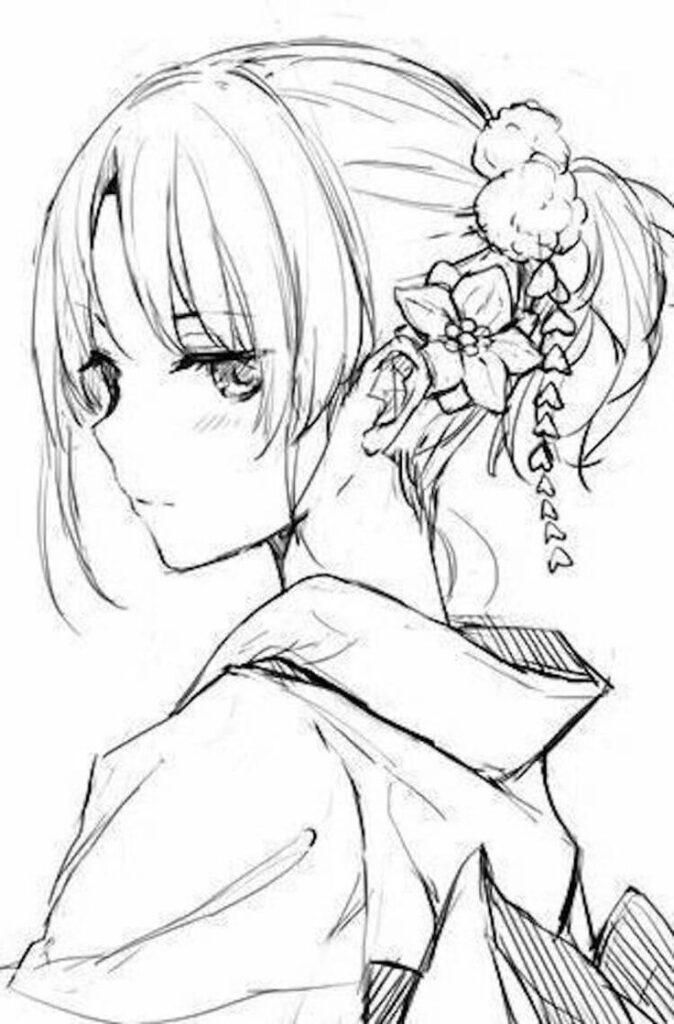
Drawing Anime Hairstyles
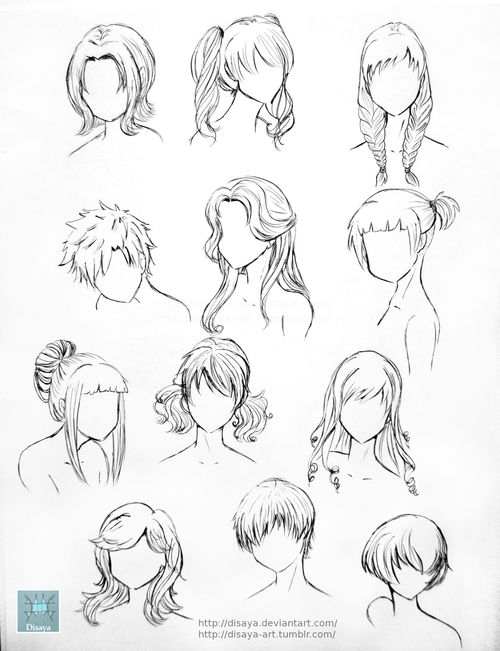
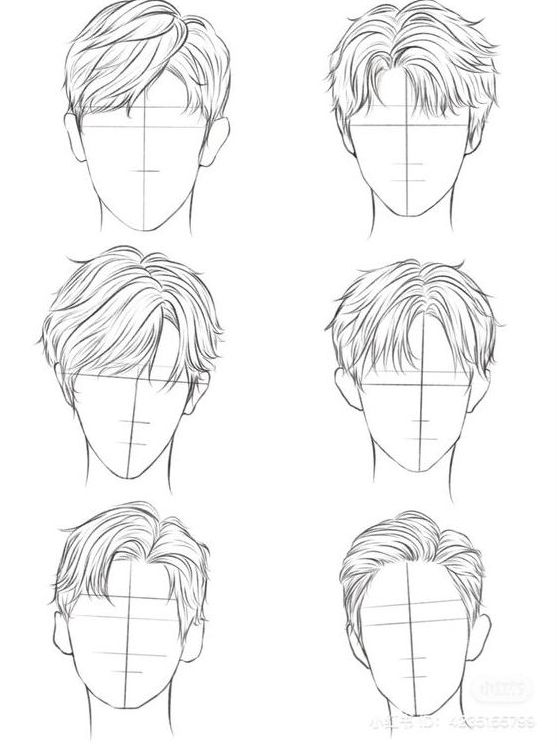
- Start with Basic Structure: Sketch the head and outline the bangs, sides, and back of the hair. identify the hair twist on top of the head to guide the flow and direction of the hair strands.
- Use strokes to create sleek and curved hair strands: The level of complexity varies depending on personal preference, including simple lines to depth shading.
- Shades and Highlights: Apply background shadows to give depth and make the hair appear more realistic. This process improves the 3-D appearance of hair.
(credit – disaya-art,tumblr.com)
Drawing Anime Clothing
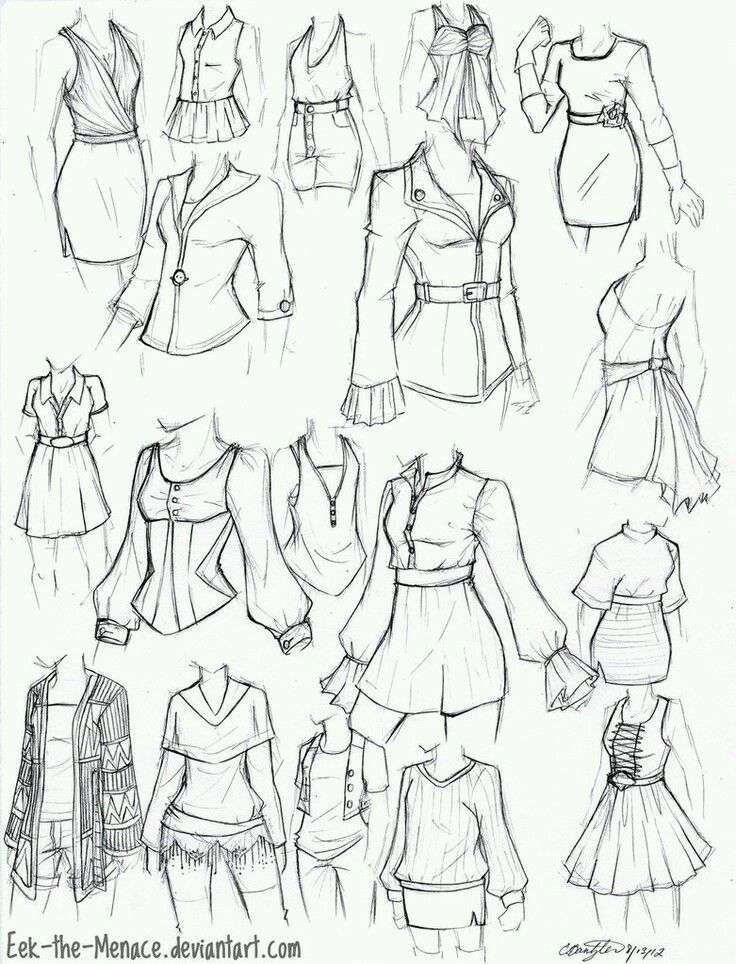
- Basic clothing shapes: Begin with the basic shape of the clothing piece and analyze the character’s body posture.
- Folds and creases: Add folds and creases to clothing to enhance movement and realism. Pay attention to how the clothes hang on the body and connect with the surroundings.
- Final details: Use shade and lighting to give the clothes character and dimension. To make your outfit design more authentic and easy to get along with consider the character’s personality as well as the location.

Mixing Hairstyles and Clothing for Character Creation
- For male anime characters, define the head and hairline before sketching the haircut. Finalize the look by adding details and color.
- Female characters have similar hair and dress choices that complement and represent their qualities.
Each hairstyle and clothing item should be customized to the character’s role and personality, alternating between angular styles for dramatic characters and flowy, free-form styles for more ethereal figures.
The Bottom Line
This tutorial has taken you through the main stages of creating anime art, from sketching basic shapes and anatomy to constructing expressions, hairstyles, and clothes that bring characters to life. Moving beyond the sketchpad, the digital domain brings up a world of possibilities, allowing artists to develop and enrich their creations using technologies that push the limits of creativity and expression. These phases not only provide a road map for people starting in anime art, but they also emphasize the need for practice, experimentation, and the use of digital advancements to bring one’s creativity to life.
Focusing on the path from pencil sketches to digital masterpieces, it’s clear that creating anime characters is an art form that combines tradition and technology. With each brush stroke, whether virtual or on paper, artists give their characters emotions, tales, and lives, adding to the ever-changing fabric of anime art. These creative processes have far-reaching implications for culture, media, and digital creativity, in addition to individual artworks. As artists continue to experiment and develop their skills, the future of anime art offers even higher levels of originality and expression, establishing its status as both a beloved hobby and a respected art form.
Photo Reference
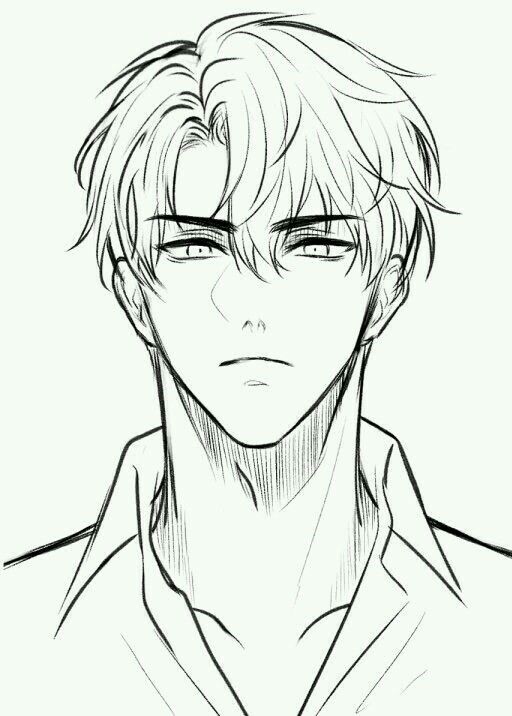
This drawing practice uses images from freepik.com. The image was slightly modified to incorporate a white background. The values were improved, and the contrast was changed. A cast shadow was created to the ground to the left using Photoshop.
FAQ’s
Q1. How do I begin drawing anime characters?
To start drawing anime characters, follow these five simple steps:
- Create the Basic Structure of the Face: Start by sketching the general shape of the character’s face.
- Add Facial Features: Incorporate the eyes, nose, and mouth.
- Draw the Hair: Sketch the hair, which often defines the character’s style.
- Add the Body: Draw the body, ensuring it matches the character’s personality and style.
- Add Details and Ink the Drawing: Finalize the drawing with detailed features and ink it for a polished look.
Q2. How can I develop my own anime drawing style?
To develop a unique anime drawing style, follow these beginner tips:
- Start with Light Line Drawings: Use light sketches to outline your drawings before finalizing.
- Use Guide/Construction Lines: These help in maintaining proportion and structure.
- Plan Your Drawing: Start from large basic shapes down to smaller details.
- Maintain Uniformity: Keep different parts of your drawing at the same stage of completion.
- Draw Hidden Elements: This adds depth and realism to your drawings.
- Practice Drawing Exercises: Regular practice can improve your skills significantly.
- Study the Anime Style: Analyze and learn from existing anime to understand stylistic elements.
- Check for Mistakes: Regularly review and correct errors in your drawings.
Q3. How can I turn a photo of myself into an anime character?
To transform yourself into an anime character using a photo:
- Download a Photo-to-Anime App: Apps like YouCam Perfect can convert your photos into anime style.
- Upload Your Photo: Choose a clear photo of yourself and upload it to the app.
- Apply an Anime Filter: Select a filter such as “Manga” or “Anime Film” to stylize your photo.
- Save and Share: Once you are satisfied with the transformation, save your anime portrait and share it with friends.
Q4. What steps are involved in designing my own anime character?
Designing your own anime character involves several detailed steps:
- Character Profile: Begin by writing a detailed profile of your character, including their background, personality, and motivations.
- Rough Character Sketches: Sketch various concepts and poses for your character.
- Developing the Character Design: Refine your sketches into a detailed and cohesive design.
- Coloring an Anime Character: Choose colors that suit the character’s traits and finalize your design with appropriate shading and highlights.
Pingback: Hyper Realistic Hair Drawing: Exploring Style and Approaches
Nice