Drawing can be a really satisfying experience, especially when you can capture the mood of a topic in a realistic manner. The realistic elephant drawing, for example, is an amazing topic for artists to work on. Elephants are powerful animals famous for their intelligence, power, and special physical features. This article has been created to help you master the art of realistic elephant sketching by giving you step-by-step instructions and useful advice.
Download Free Full HD Animals Drawing References – click here
A Brief Description of Realistic Elephant Drawing
Elephants are a popular subject for artists because of their unusual features, which include big ears, curving tusks, and lengthy trunks. The key to creating a realistic elephant drawing is to precisely capture these traits while also communicating the texture of the elephant’s skin as well as the weight and solidity of its gigantic frame.
As we get started with the step-by-step approach, it’s essential to remember that elephants have been divided into two species: African and Asian. They are different in size, ear shape, and number of toes on each foot. This tutorial will focus on the African elephant, which is larger and has more distinct characteristics.
Bringing Your Drawing Supplies
Before you begin, check that you have all of the essential drawing supplies. This includes:
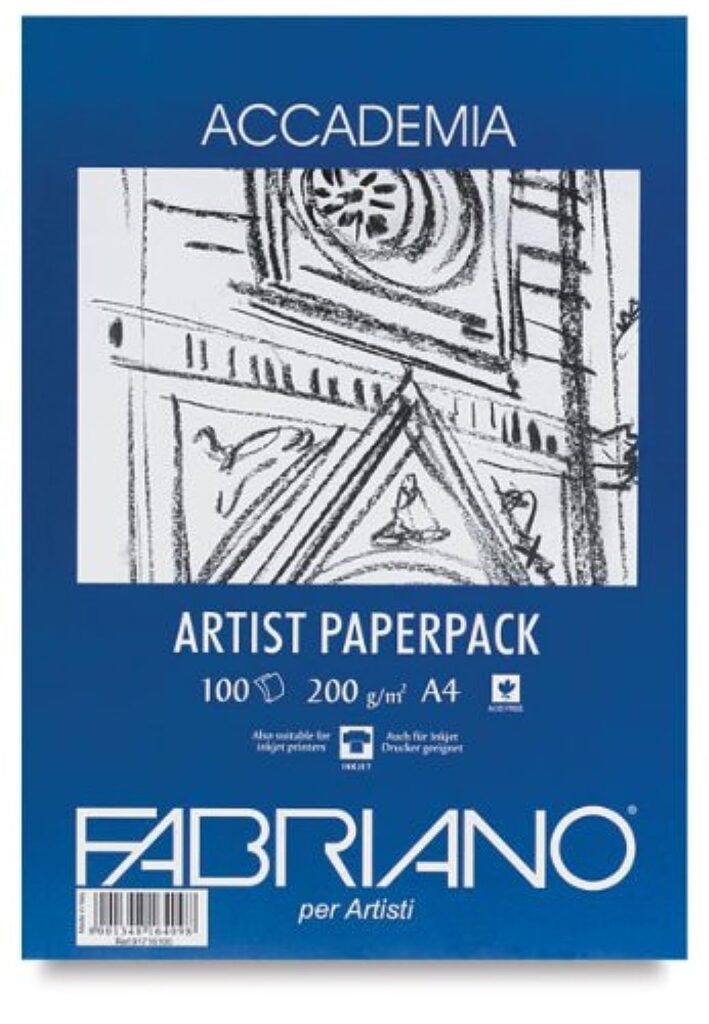
- Drawing Papers
- Graphite Pencil Set (grades 4H, 2H, HB, 2B, and 4B for different shades)
- Brush
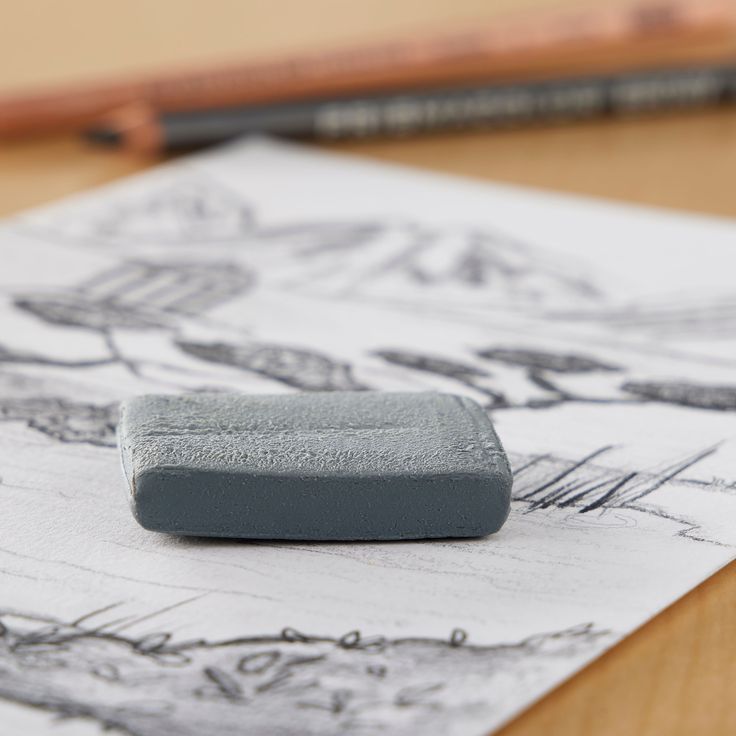
- Kneaded Eraser
- Sharpener
- Charcoal Pencils (Soft, Medium, Light)



You may also want to have some reference images of elephants on hand, especially ones that show the animal from different angles and attitudes.
Check out the differences in the elephant’s body
Multiple factors might affect a particular shape. Take a look at elephant images; if you attempt to identify the basic shapes at the beginning, you will need to draw something different for each one. The angle, shadows, and placements of the limbs and trunk vary dramatically. It is impossible to sketch a blueprint of the shapes that comprise a certain species. Unless of course, it is something extremely basic for a kid
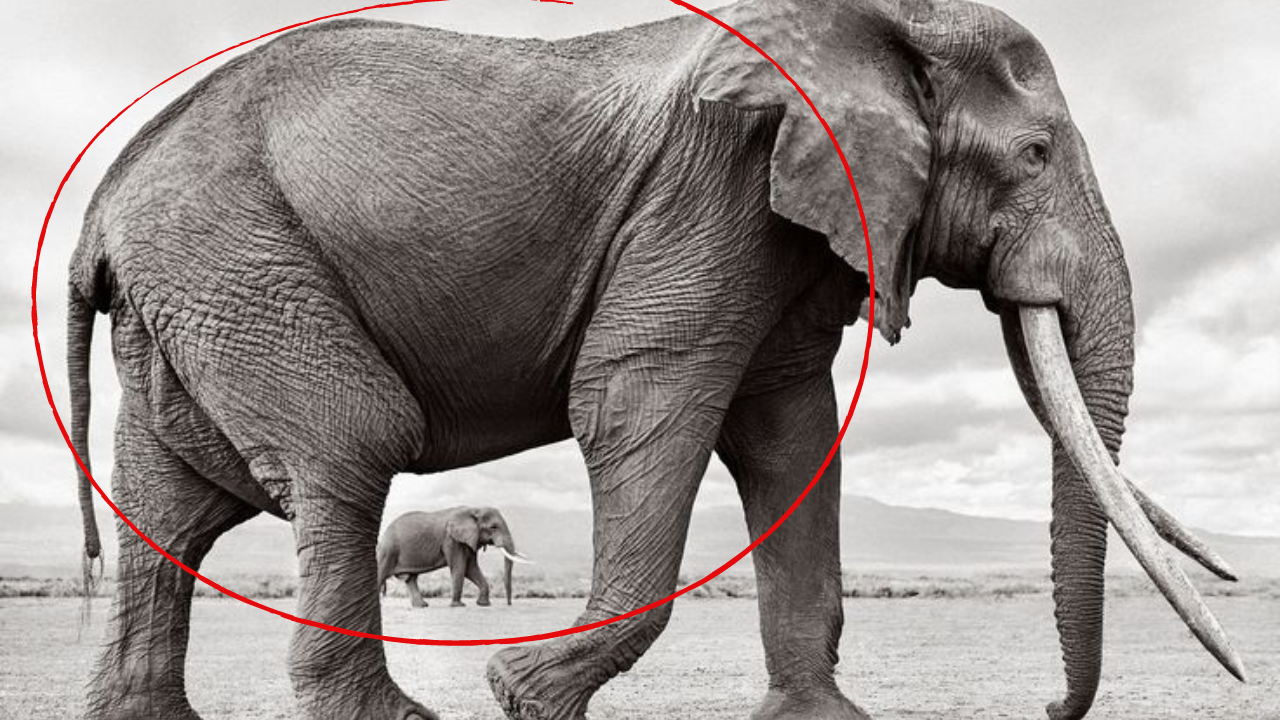
Using a few basic notes will help you take your initial step. You may think these observations are simple. Yes, they are, but they represent different sketching challenges. The elephant has a complex trunk that frequently adjusts. Some contain husks. The body is large, muscular, and cylindrical. The limbs are fat and shapeless. The tail is thin and looks small.
Draw two or three simple sketches first of all
Your starting point should be to look for some elephant photos. Sketch them quickly, without thinking about the outcome, and do it coarsely. It makes no difference if the end outcome is bad. Sketch three, four, or five elephants. In this way, you will become familiar with the elephant shape’s characteristics. You’re putting your early observations into practice.
Then you notice how an easy change of the head changes the overall form of the elephant. How about front vs. side views? With so many variants, it might be difficult to design an anatomically realistic elephant.
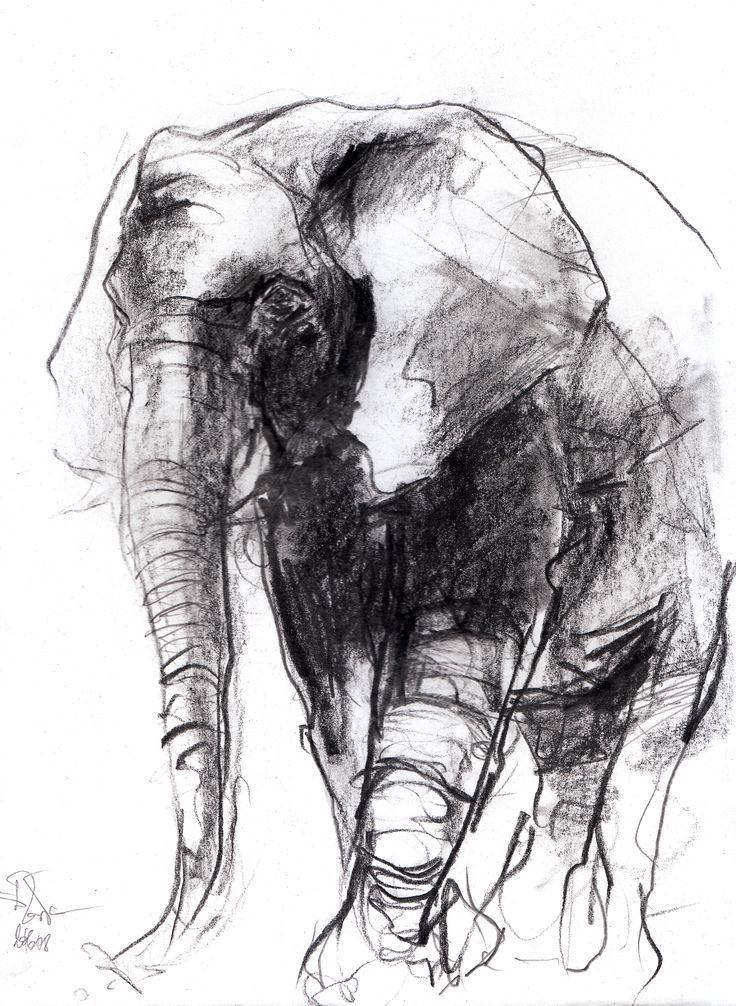
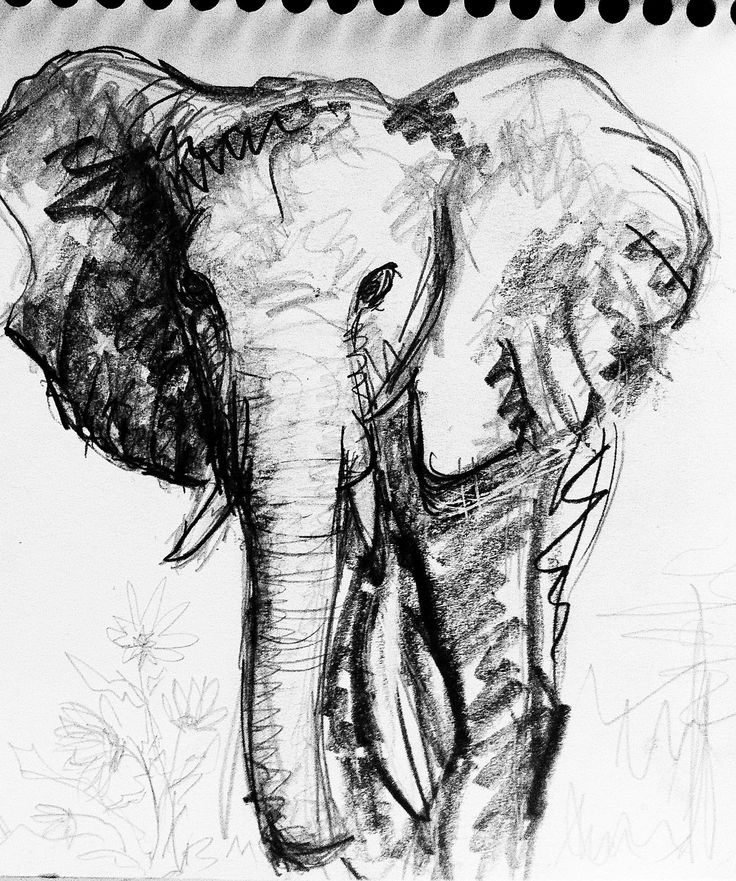
Step 1: Draw the basic outline
Starts with some simple measurements. First, a bright line is drawn from the top of the head to the bottom of the elephant. This beginning line ensures that the artwork fits within the picture plane. Sketching a huge horizontal oval to act as the elephant’s body. Make sure you allow enough room at the bottom for the legs and at the top for the head. Next, create a smaller oval for the head on the left side of the body oval. Remember, an elephant’s head is slightly smaller than its body.
After completing the base outline Now you have to refine it with proper shapes and proportions. So the next stage is to shade portions one by one.
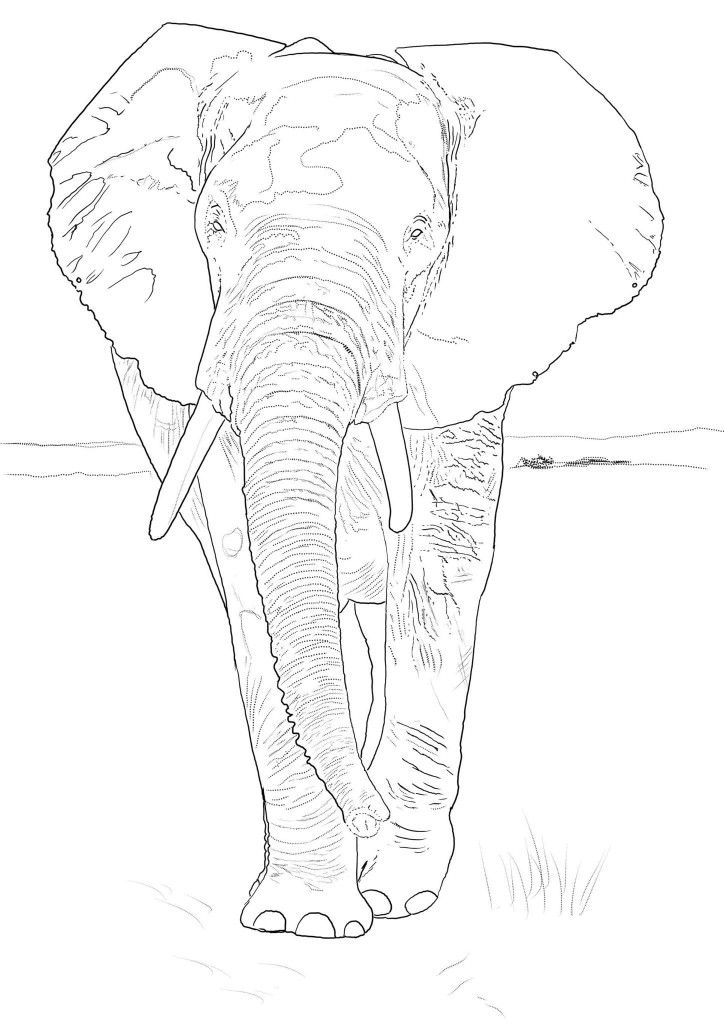
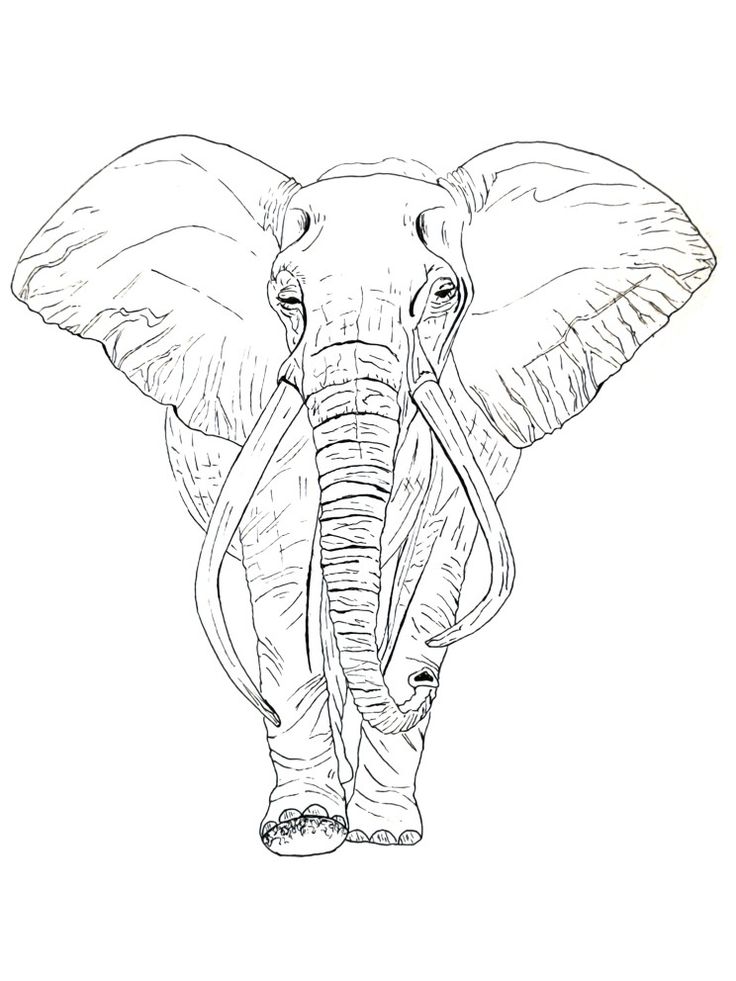
See Also: How to Draw Anything
Step 2: Shading the all parts one by one
Firstly focus on the elephant’s head and start shading the elephant’s head. Begin by drawing almond-shaped eyes above what would be the trunk. Shading is the technique of adding value to a drawing. Value, In almost every situation, we must try to provide a wide variety of value inside the scene. This means we should aim to incorporate both the darkest darks and the lightest lights.
As the value grows through shading, the texture is considered as well. Surface in a drawing is frequently generated through value. The interactions between the values show the viewer how light plays on the surface. The relationships of values create the illusion of a surface in a drawing. There are further impacts. The drawing medium and surface texture of the paper both contribute to the creation of a convincing surface.
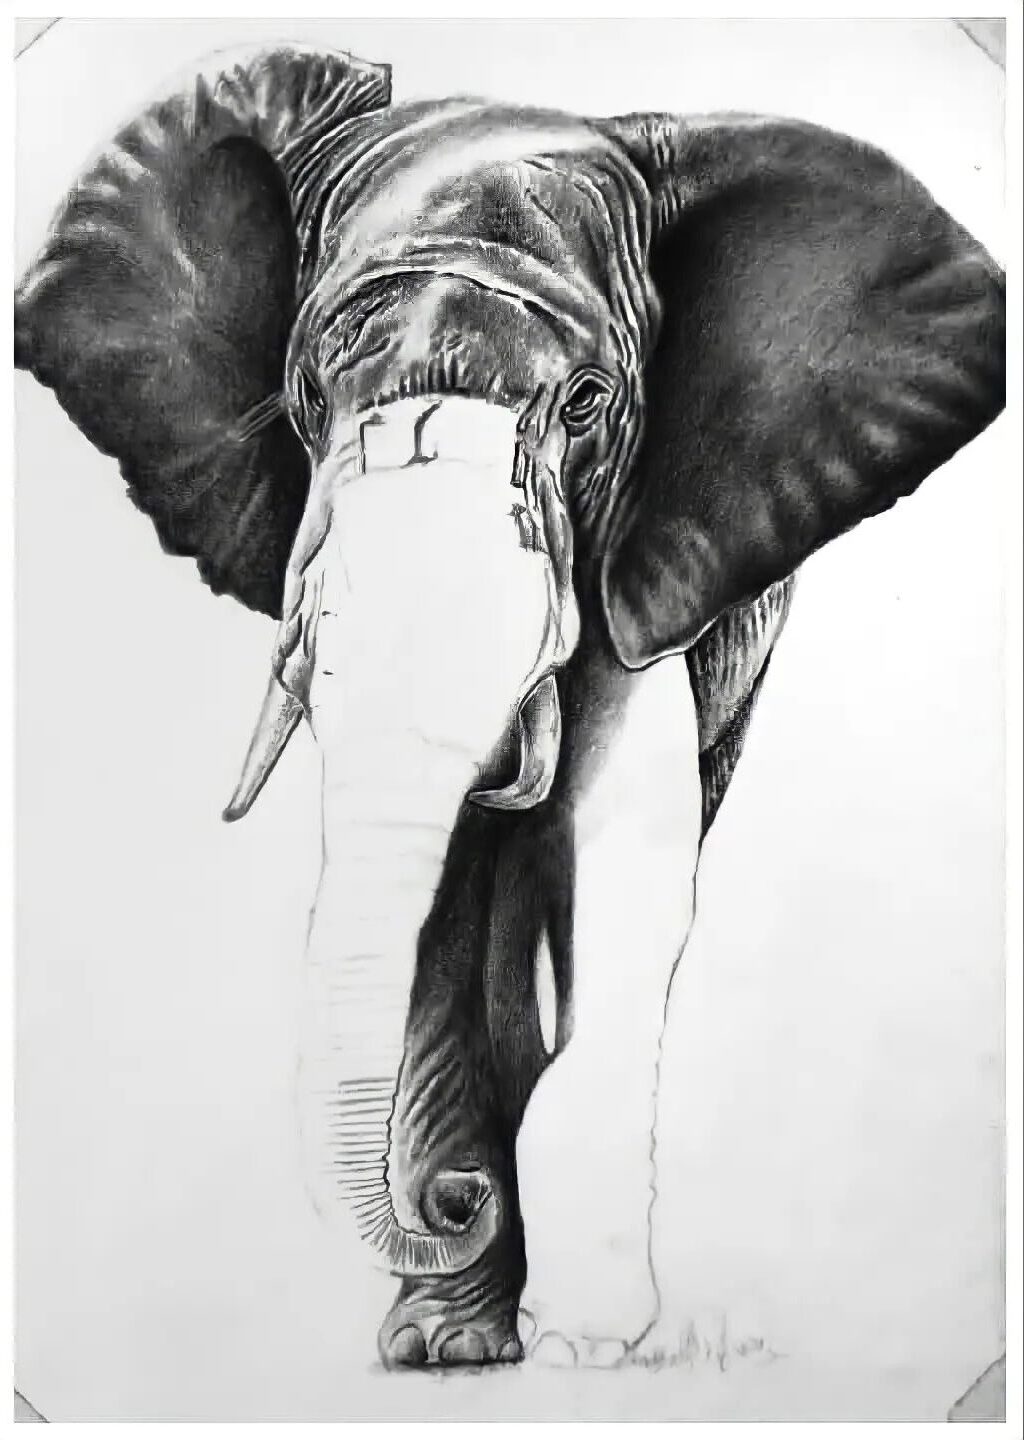
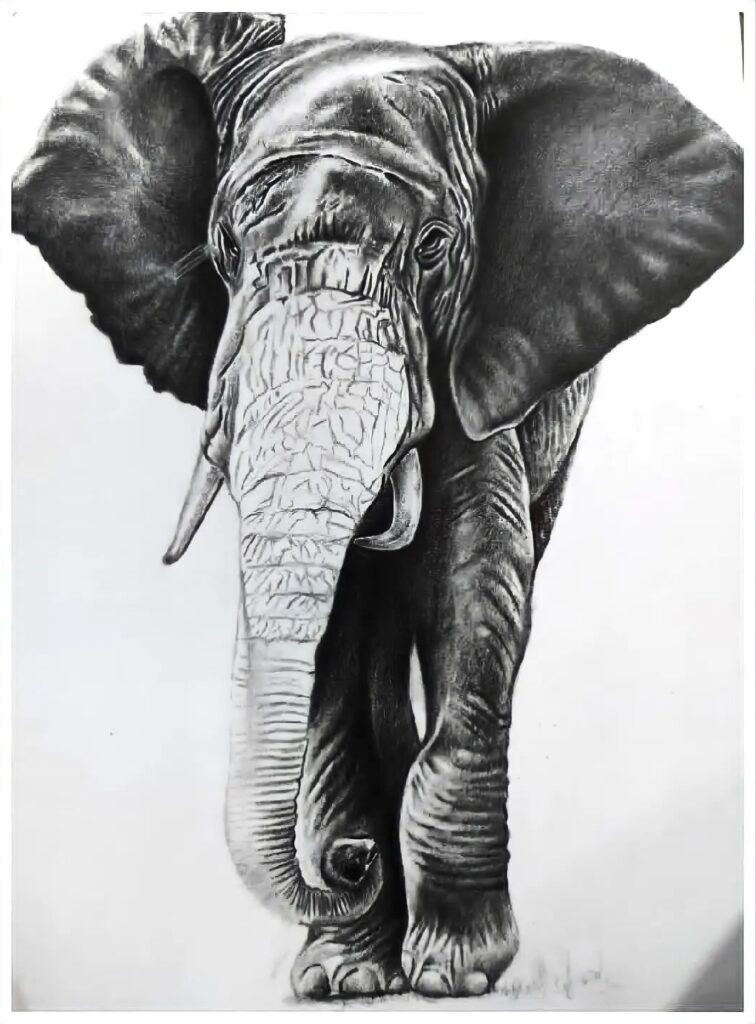
Note: Although speed was essential, wide directional strokes were used during the shading process. Middle and darker values were quickly achieved by adjusting the amount of pressure applied to the pencil. This method works well for sketching, but for bigger artworks, a slower approach may be more beneficial.
See Also: Pencil Shading Tutorials
Step 3. Shading the other body parts (Ears, Legs, Feet, Tail, and Body)
- Next, shade the elephant’s ears. They should be large and fan-shaped, coming from the top of the elephant’s head. Connect the head and body with a little curving line for the elephant’s chest and a line that slides down and then rises for the elephant’s back.
- Elephants have strong and muscular legs. Continue by shading the front legs, keeping them proportional to the body. Next, go on to the back legs. Remember that elephants’ legs are almost straight, with low bends at the ‘knee’. Add semi-circular shapes to the ends of each leg to look like the elephant’s feet.
- Next, draw a short and slightly curved line from the elephant’s back which will be the tail. You can add an extra section of hair to the end of the tail.


Step 4. Add highlights, shadow, and refine things
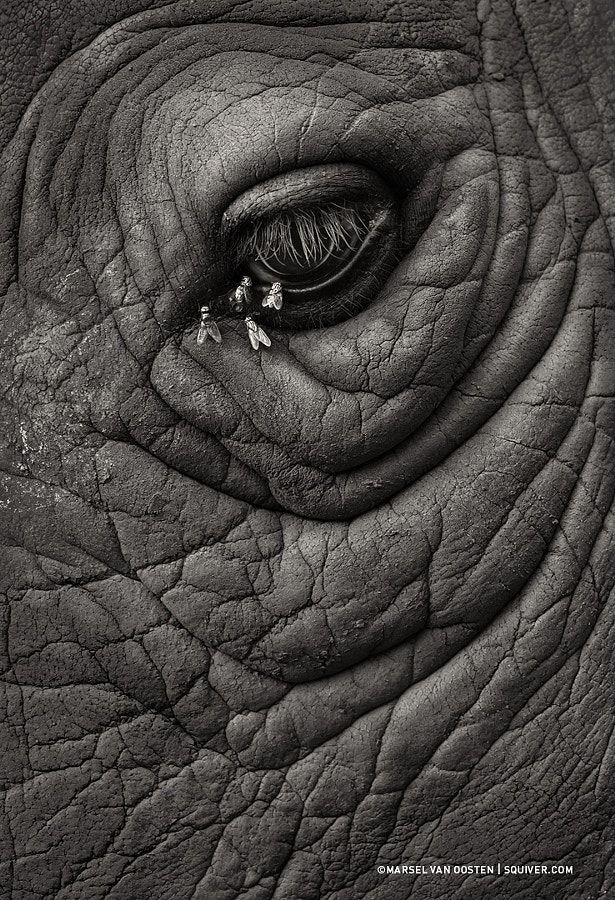
Once you’ve Shaded the general outline of the elephant, you may start adding highlights and shadows & refine dark tones in your sketch. This includes shaping the head, trunk, and tusks, as well as adding detail to the ears, eyes, and feet. You can also begin adding texture to the elephant’s skin, which is identified by wrinkles and folds.
Step 5. Adding Final Details and Textures
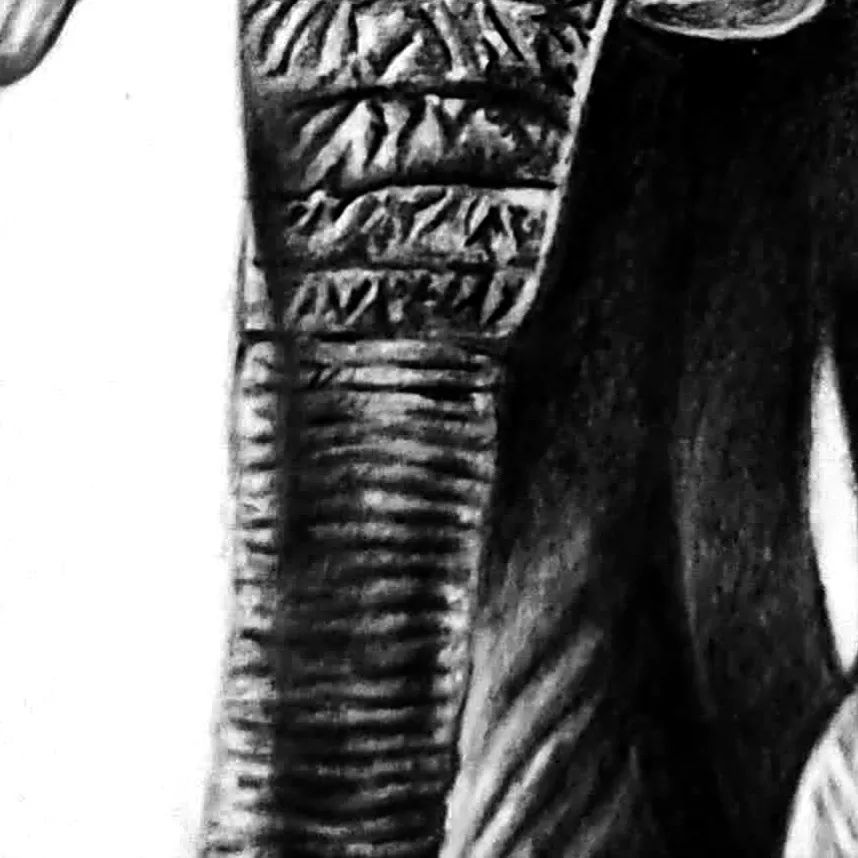
- Adding final details and textures improves the artwork. Elephants’ most unique feature is their rough, wrinkled skin. To capture this, an artist must pay specific attention to the movement of light and shadow on the surface.
- The wrinkles are not equal; they are different in depth and width, generating a complex structure that indicates the elephant’s age and the roughness of its natural environment. Skin folds grow larger in joints, such as the knees and ankles, indicating mobility and flexibility. These sections require exact shading to create a sense of multiple layers of muscle.
- The tusks, an additional characteristic of elephants, involve a unique approach. They are smoother than skin but contain small wrinkles and pores that show years of use. When drawing tusks, use a lighter touch to achieve the hard, ivory texture.
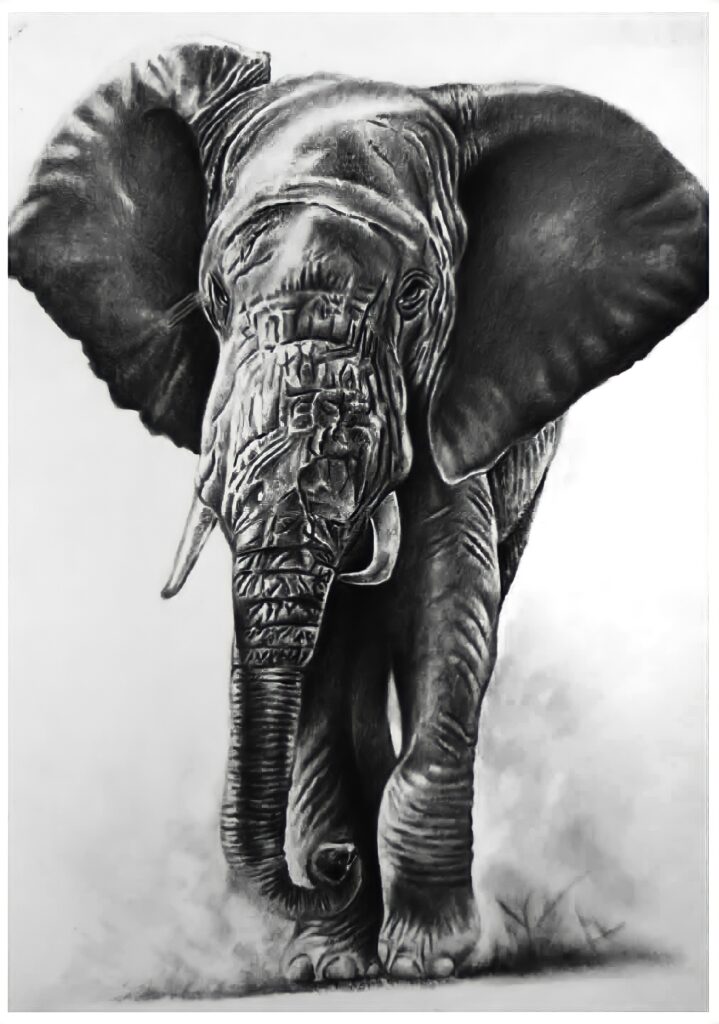
Photo Reference
This drawing practice uses images from Pixabay.com. The image was slightly modified to incorporate a white background. The values were improved, and the contrast was changed. A cast shadow was created to the ground to the left using Photoshop.
The Outcome/Results
Drawing a realistic elephant can be difficult, but with hard work, practice, and a good eye for detail, you can produce an excellent work of art. Remember that the key to a realistic elephant drawing is not only accurate proportions but also portraying the texture and weight of the elephant’s body. So gather your drawing equipment, find a comfy position, and begin sketching. With time and practice, you’ll be able to perfect the technique of sketching a realistic elephant.
Remember sketching is crucial and should be practiced frequently. Setting a time limit offers us a beginning and end point. It allows us to practice without feeling overwhelmed. So keep learning and keep practicing with My Artology!
FAQ’s
Q1. Are elephants hard to draw?
Elephant drawings may look daunting, but they’re actually one of the easiest animals for beginners to tackle. The key to any animal drawing is to break it down into simple shapes and an elephant’s body is naturally built around large, basic shapes.
Q2. How to draw an elephant’s tail?
Sketch the body and limbs based on the outline you created previously. Add the tail by drawing two curved lines and adding a few hairs to the ends.
Q3. What are some tips for drawing an elephant?
One of the best tips for drawing an elephant is to start with basic shapes to get the proportions right. From there, you can gradually add details and refine the drawing. Another tip is to be patient and take your time, especially when adding texture and details.


What i do not realize is in fact how you are no longer actually much more wellfavored than you might be right now Youre very intelligent You recognize thus considerably in relation to this topic made me in my view believe it from numerous numerous angles Its like men and women are not fascinated until it is one thing to do with Lady gaga Your own stuffs excellent All the time handle it up
Its like you read my mind You appear to know so much about this like you wrote the book in it or something I think that you can do with a few pics to drive the message home a little bit but other than that this is fantastic blog A great read Ill certainly be back
Wow superb blog layout How long have you been blogging for you make blogging look easy The overall look of your site is magnificent as well as the content